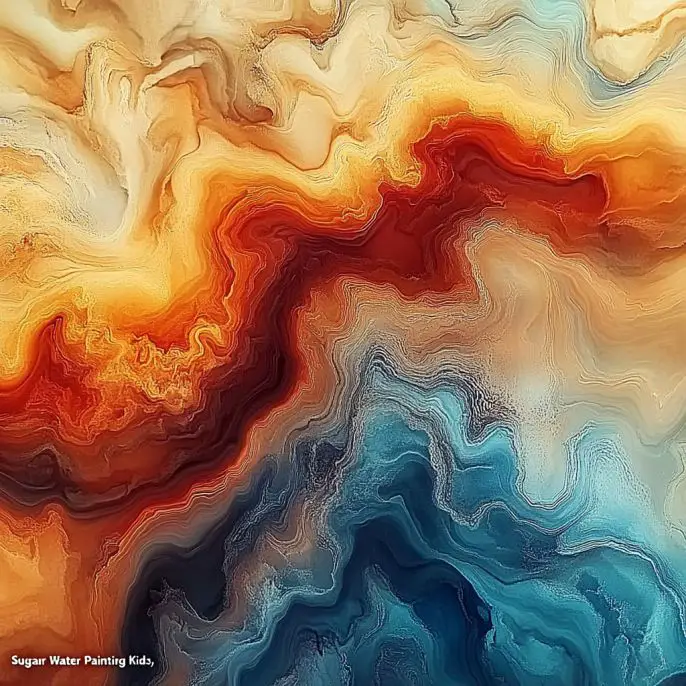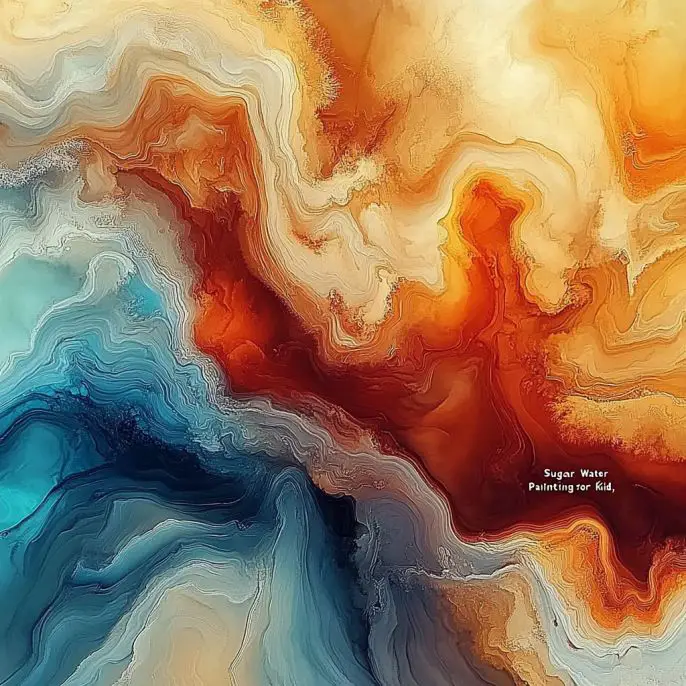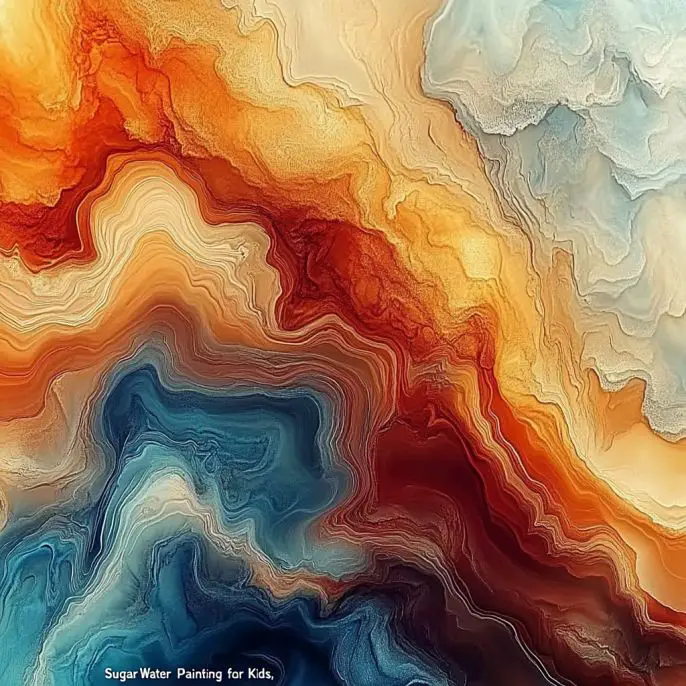
Hey there, fellow creators! I’m so excited to share this sweet and easy DIY art activity with you today – Sugar Water Painting! It’s one of those simple yet magical projects that will spark your creativity and leave you with a stunning piece of art, perfect for displaying in your home or gifting to a loved one. Whether you’re a beginner or a seasoned artist, this activity will surely bring out your inner Picasso.
Before we dive into the steps, I want to take a moment to express how much I appreciate you joining me for this creative adventure. If you love exploring fun projects like this, make sure to subscribe so I can keep sending you more exciting and easy-to-follow ideas straight to your inbox!
Now, let’s get into the art and science of sugar water painting – trust me, you’re going to love how the colors come together with a little sweet touch!
Overview of Recipe Content
This sugar water painting activity is an easy, hands-on craft that’s as fun as it is beautiful. You’ll be creating glossy, vibrant art by combining the magic of sugar water with watercolor paints or food coloring. It’s ideal for kids, adults, and anyone in between who wants to explore a fun and simple painting technique!
Why You’ll Love This Activity:
It’s super easy to set up and doesn’t require a lot of fancy materials.
You get to play with colors and textures to create unique designs every time.
The sugar water creates a glossy finish that adds a touch of magic to your artwork.
It’s a great activity for both kids and adults. Bonus points for being a fun group project!
Taste of Creativity:
Though we’re not actually eating this artwork, I promise you’ll get a sweet sense of satisfaction when you see the stunning results! The sugar water adds a glossy, smooth texture to your piece, creating a unique, almost watercolor-like shimmer.
Ingredients and Tools
Before you start, here’s a quick rundown of what you’ll need for this activity:
Ingredients:
1 cup warm water
3 tablespoons sugar
Watercolor paints or food coloring
Watercolor paper or thick white paper

Tools:
Paintbrushes
Bowls or cups for mixing
Pencil (optional for sketching)
Possible Additions and Substitutions:
Colored sugar: If you want an added touch of sparkle, you can add glitter to your sugar water mix for a bit of extra dazzle!
Different papers: Try using textured paper to experiment with how the sugar water interacts with the surface.
Step-by-Step Instructions
Alright, let’s get started and make some magic happen on paper!
1. Make the Magic Sugar Water
Start by stirring the sugar into the warm water until it dissolves completely. Give it a quick stir, then set it aside to cool down a bit. You’ll want it to be warm, not too hot, for easy application.
2. Set Up Your Workspace
Find a flat surface where you can comfortably spread out your supplies. Set up your watercolor paints or food coloring, the sugar water, brushes, and a piece of thick white paper. If you’re using a pencil for sketching, keep it handy.
3. Create with Sugar
Now comes the fun part – dipping your brush into the sugar water and painting it onto your paper! The sugar water will give your artwork a glossy texture as you go along, so let your imagination run wild. You can create free-flowing shapes, patterns, or even detailed designs.
4. Add Color
While the sugar water is still wet, pick up your watercolor paints or food coloring and dab it gently on top. Watch as the colors blend and create a beautiful, shimmering effect. It’s like a mini masterpiece unfolding before your eyes!
5. Let It Dry
Once you’re happy with your design, set the paper flat and let it dry completely. The sugar will leave behind a stunning, glossy finish that’s just begging to be admired.
6. Optional Twist: Sketch First
For an extra layer of fun, encourage the kids (or yourself) to lightly sketch your shapes or design first with a pencil. Then, trace over the lines with the sugar water before adding the colors. It’s a great way to make sure your artwork stays neat and precise.

Tips for Making Sugar Water Paintings
Experiment with paper types: Try different kinds of thick paper to see how they absorb the water and color. Each type of paper will give you a unique effect, so don’t be afraid to experiment!
Layer colors: For more depth, mix your watercolors or food coloring directly into the sugar water before applying it to your paper. This will create layered colors and a totally different effect than painting them on top.
Use glitter: Add a little sparkle by mixing glitter into the sugar water before you paint. Your artwork will shimmer and shine!
What to Serve with Your Painting (Figuratively!)
This is an art activity, but let’s be honest – a treat wouldn’t hurt, right? Pair your painting session with a cozy snack, like a cup of tea or fresh fruit, and just relax while you work your magic on paper.
Storage Instructions
Once your painting has dried completely, store it in a cool, dry place. If you’re worried about it getting damaged, frame it or slip it into a protective sleeve. The sugar water will leave a smooth, glossy finish that should hold up well over time!
Frequently Asked Questions (FAQ)
Can I use regular paper for this activity?
It’s best to use thick paper like watercolor paper. Thin paper will absorb too much water and may wrinkle or tear.
Can I make the sugar water ahead of time?
Absolutely! You can store any leftover sugar water in an airtight container for later use, but try to use it within a few days for the best results.
What can I do if my sugar water isn’t sticky enough?
If you find that your sugar water isn’t creating a glossy effect, you can try adding a bit more sugar to the water to make it thicker.
Conclusion
And there you have it! Sugar water painting is such an easy, fun, and magical activity. I promise you’ll love how your creations turn out, whether you’re making them as gifts, decorations, or just for fun. It’s a great way to explore art in a fresh and creative way, and the best part is that it’s super simple to set up.
If you’re looking for more peachy projects or fun, creative activities, be sure to check out my other posts for fresh inspiration. And please, don’t forget to share your beautiful sugar water paintings with me on Pinterest! I love seeing your masterpieces.
Happy painting! 🌟
Nutritional Information (Just for Fun!)
Since we’re not actually eating this art, I’ll skip the calorie count, but here’s the important part: This activity will leave you feeling satisfied, creative, and joyful – all without the sugar rush!

Sugar Water Painting
Ingredients
Equipment
Method
- Stir sugar into warm water until fully dissolved. Let cool slightly so it’s warm but not hot.
- Set up paints, paper, brushes, and sugar water on a flat surface. Use a pencil to sketch shapes if desired.
- Dip brush in sugar water and paint shapes or patterns directly onto the paper.
- While the sugar water is still wet, gently dab watercolor paint or food coloring over it and watch the colors blend.
- Allow painting to dry flat. The sugar will leave a glossy finish as it sets.
- Optionally add glitter to sugar water or sketch first for more detailed designs.


