Welcome back, friend! I’m so glad you’re here—especially today, because I’ve got a bursting little science experiment that will capture your imagination and ignite your curiosity. It’s easy, it’s exciting, and it’s right from your kitchen: the Salt Volcano Experiment!
This activity is pure delight for kids, adults, and anyone who enjoys watching science in action. It combines simple ingredients to create an eruptive reaction that’s not only fun to watch but also a great lesson in density and chemical behavior. Plus—it’s gorgeous!
💌 Want to keep the experiments coming? Subscribe to get your weekly dose of colorful, educational fun delivered straight to your inbox!
What Is the Salt Volcano Experiment?
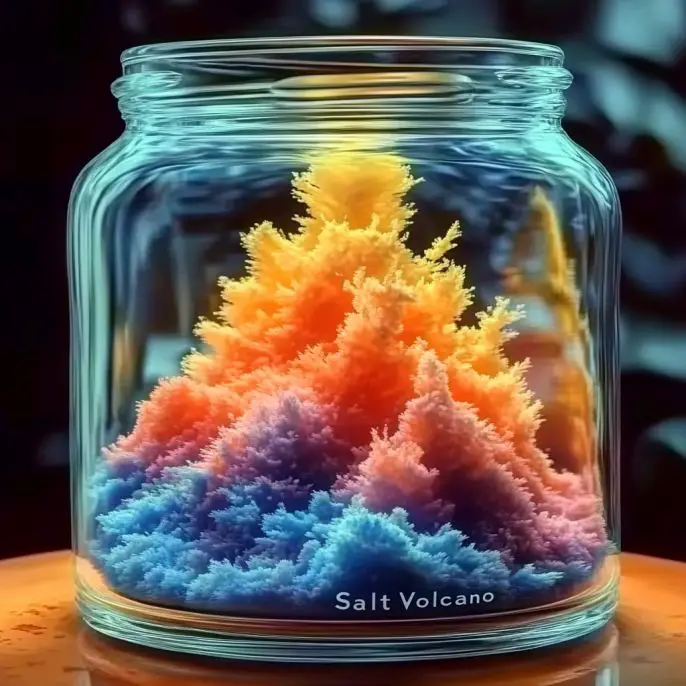
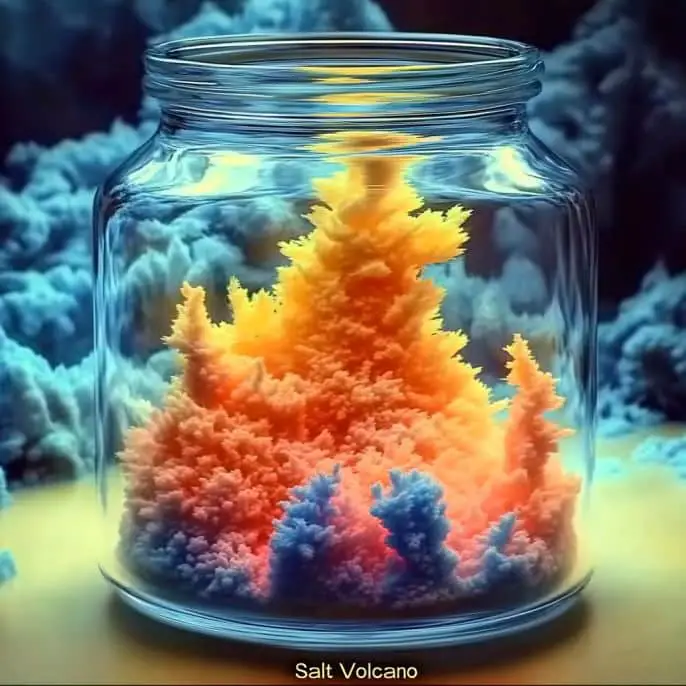
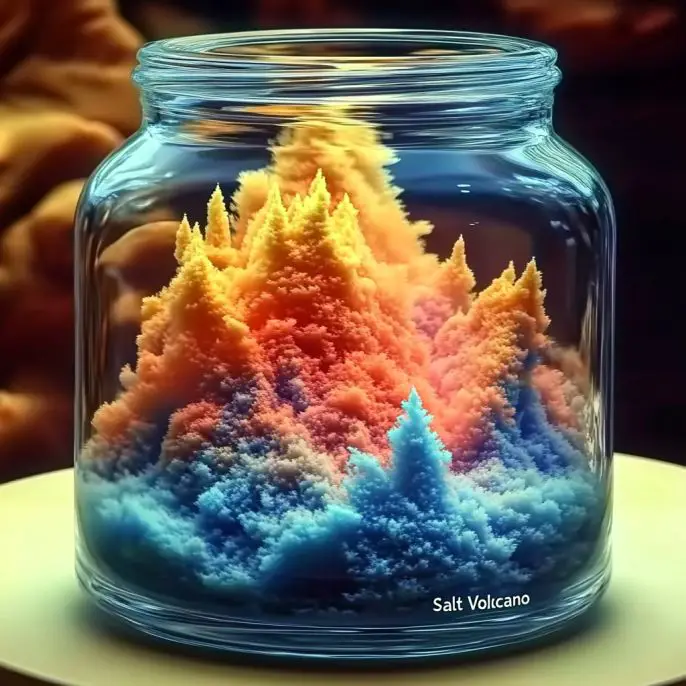
This is a hands-on science activity where salt interacts with oil and water, creating a bubbling eruption that mimics a lava volcano! It’s a fantastic way to explore the properties of density and how different materials behave when they meet.
You’ll watch with wonder as tiny salt “lava bombs” carry oil down through the water, only to release bubbles that float back up. Trust me—it’s mesmerizing.
Why You’ll Love This Experiment
No mess, no stress: Super simple setup and clean-up
Visually stunning: Add food coloring for a lava-like look
Great for STEM learning: Teaches density, displacement, and chemical interaction
Fun for all ages: Safe and engaging for kids, interesting for grownups, too
No fancy supplies: Uses basic kitchen ingredients
Ingredients
Here’s what you’ll need to create your own salt-powered lava eruption:
1 cup room temperature water
¼ cup vegetable oil
Salt (table salt or rock salt work best)
1 clear glass jar or cup
Optional: Food coloring (red, orange, yellow)
Salt Volcano Experiment
Ingredients
Equipment
Method
- Fill your clear glass jar or cup about 3/4 full with room temperature water.
- Gently pour vegetable oil into the jar until there's about 1/2 inch floating on top. Let it settle.
- Add a few drops of food coloring to the oil layer for a colorful display (optional).
- Slowly sprinkle salt into the jar. Watch it carry oil downward and create bubbling eruptions as it sinks and dissolves.
- Keep adding salt to see ongoing bubbling. Observe the interaction between salt, oil, and water.
Notes
Tools You’ll Need
A spoon
Measuring cup
Towel or tray to protect your surface
A clear glass or plastic container (so you can see all the action!)
Step-by-Step Directions
1. Pour in the Water
Fill your glass about ¾ full with room temperature water. This will act as the base for your experiment.
2. Add the Oil
Gently pour the vegetable oil into the glass. You should see a layer form on top of the water—don’t stir! Let the oil settle so it’s clearly separated.
3. Add Some Color (Optional but Fun!)
If you’d like, drop in 3–5 drops of food coloring into the oil. The drops will sit there at first—but don’t worry, the magic is coming!
4. Sprinkle the Salt
Here’s where things start to erupt! Slowly sprinkle salt into the glass. Watch how it sinks, carries blobs of oil with it, then releases bubbles as the oil floats back to the top.
5. Keep the Eruption Going
Keep adding salt a little at a time and watch each tiny “lava bomb” erupt. The interaction creates a dancing, fizzing show that looks just like a miniature volcano in action!
Tips & Variations
Try different salts: Table salt works fast, while coarse salt creates slower, chunkier eruptions. Try sea salt or Himalayan salt for varied effects!
Use multiple colors: Add more than one food coloring shade to make your eruption even more dramatic.
Use a flashlight: Set the jar on a lit surface or shine a flashlight behind it in a dark room to enhance the glowing effect of the bubbles.
Make predictions: Ask your little scientists what they think will happen with each salt type or color!
What’s Happening Here? (A Bit of Science!)
Oil is less dense than water, so it floats on top.
When salt is added, it’s heavier than both, so it drags some oil down with it as it sinks.
As the salt dissolves in water, the oil it carried becomes lighter and bubbles back up, causing a fizzy eruption that looks just like lava!
It’s the perfect visual for teaching density, solubility, and buoyancy—without needing a textbook!
Cleanup Tips
Simply pour the contents of the jar down the sink with warm water and a little dish soap.
Rinse out your container and wipe down the surface with a towel. That’s it!
Frequently Asked Questions (FAQ)
Can I reuse the same mixture?
Yes! You can keep adding salt to the same jar as long as you like, though eventually the mixture will get cloudy.
Is this safe for toddlers?
It’s safe with supervision. Be sure younger kids don’t drink the mixture or get it in their eyes.
What kind of oil should I use?
Any light oil works—vegetable oil, canola, sunflower, or even baby oil for a clearer look.
Can I store it for later?
You can leave it sitting for a while, but for the best effect, use fresh ingredients when you’re ready to erupt again!
 §
§
Conclusion
The Salt Volcano Experiment is such a vibrant, exciting way to turn everyday ingredients into a mesmerizing science lesson. Whether you’re exploring the magic of molecules or just looking for an activity that will make your kids’ eyes light up, this one never disappoints.
It’s fun. It’s fizzy. It’s science that sizzles! 🌋
More Science Fun to Try
If you enjoyed this, you might love:
Baking Soda Balloon Experiment
Rainbow in a Jar Density Tower
Magic Milk Color Swirl
Exploding Lemon Volcano
Show Us Your Eruptions!
Did you try this experiment? I’d love to see it! Share your bubbling volcano photos on Pinterest or tag your experiment on social media—nothing makes my day like seeing your colorful creations. 🌈✨
Estimated Cost Per Experiment
$1–$3 depending on what you have at home
Thanks for joining me for another day of discovery. Let’s keep exploring, creating, and learning together—one fun experiment at a time!
Let me know if you’d like this turned into a printable experiment card for your classroom or science corner!


