Before we dive in… thank you for being here! Whether you’re a crafty parent looking for weekend fun or just someone chasing a little extra color and joy, I’m so glad you’ve landed here. This little project right here? It’s pure magic. It’s one of those “why didn’t I do this sooner?” kind of crafts — minimal mess, mesmerizing results, and just wait until you see the sun shine through!
✨ Want to get this craft straight to your inbox? Subscribe below and never miss out on our creative adventures again! ✨
The Joy Behind Glue Suncatchers
If you’ve never made a glue suncatcher before, you’re in for a treat. These colorful creations use everyday items (hello, recycled lids!) and transform them into gorgeous window art. Think liquid rainbows, swirling galaxies, dreamy oceanscapes — all captured in one simple swirl of glue and color.
Why You’ll Fall in Love With This Craft:
It’s wildly simple: No fancy tools, no stressful steps — just glue, color, and a little patience.
It’s sensory heaven: Watching the colors blend and swirl is half the fun!
It’s perfect for all ages: Whether you’re crafting with kiddos or having a solo creative session, this one delivers.
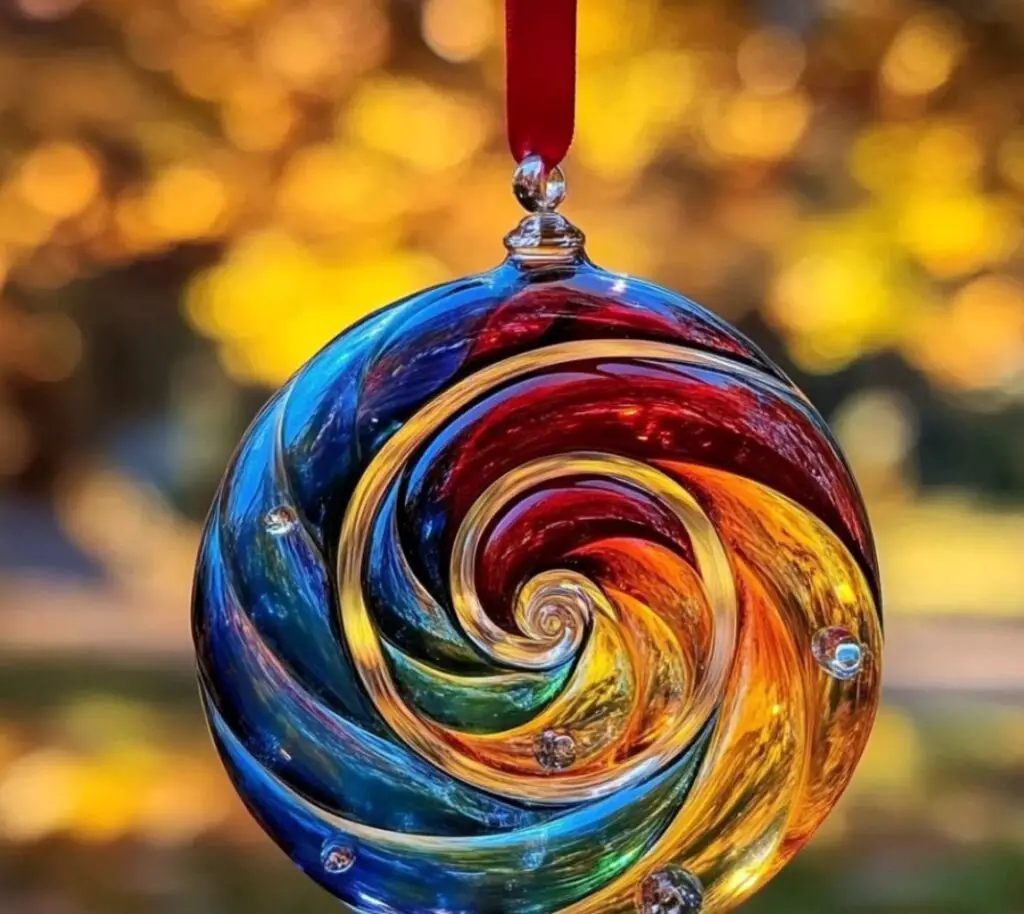
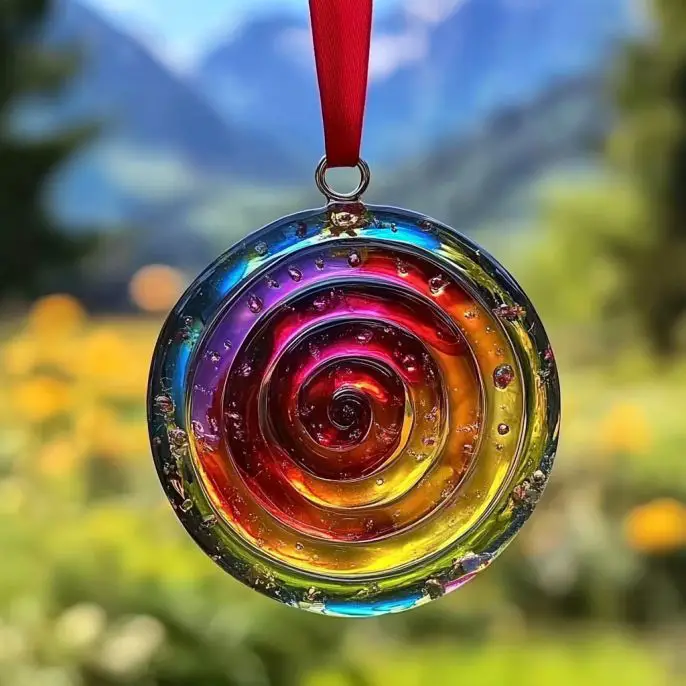
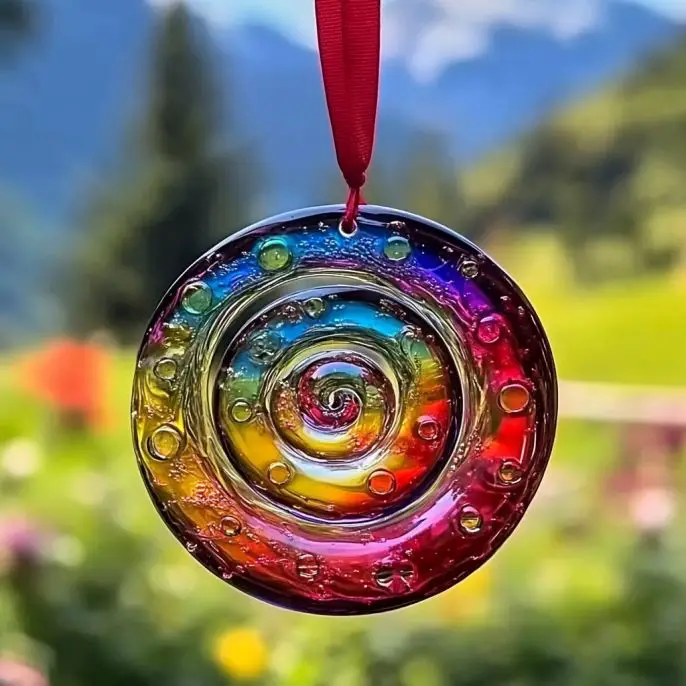
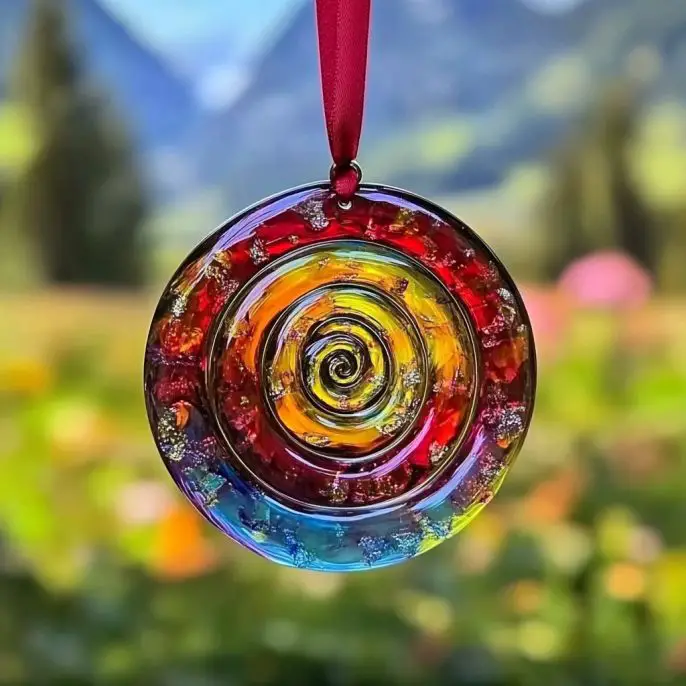
What Does a Glue Suncatcher Look Like?
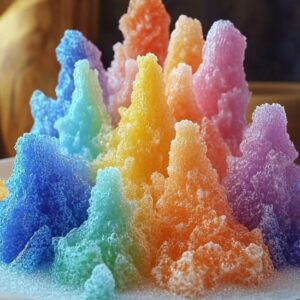
Imagine the sun hitting a jelly-like disc of glowing color — it shimmers, it glows, it dances with light. Depending on your color choices, you can go for a calming ombré, a fiery sunset, or even a whimsical galaxy. Every one is unique. Every one is magical.
Benefits of Making Glue Suncatchers
Affordable – Uses materials you likely already have.
Eco-friendly – Reuse those plastic lids that normally get tossed.
Great for fine motor skills – For kids, dragging those toothpicks through color is actually sneaky hand-eye coordination work!
Stress-relieving – Seriously, swirling glue and color? Instant zen.
Window decor with personality – Every piece is one-of-a-kind and so cheerful.
Ingredients & Supplies
What You’ll Need:
✅ Clean plastic lids (from yogurt, sour cream, etc.)
✅ White school glue (like Elmer’s)
✅ Liquid watercolors or food coloring mixed with a bit of water
✅ Toothpicks (for swirling)
✅ Popsicle stick or spoon (for spreading glue)
✅ Hole punch
✅ Ribbon, twine, or yarn (for hanging)
Optional Additions & Substitutions
🟣 Sharpies: Outline shapes or patterns on the plastic lid for a faux stained-glass effect.
✨ Glitter: Sprinkle a little sparkle for some cosmic flair.
🌟 Confetti shapes or sequins: For extra dimension and playfulness.
💡 Container shapes: Use clear take-out lids, shallow jars, or even silicone baking molds!
Step-by-Step Instructions
How to Make a Glue Suncatcher:
Prep Your Canvas
Wash and dry your plastic lid thoroughly. (This helps the glue stick evenly.)
Optional: Draw designs or borders using a permanent marker.Pour & Spread the Glue
Add a ¼” thick layer of white glue inside the lid. Use a popsicle stick to spread it out evenly. Don’t rush this part — smooth glue makes smoother art!Add Your Colors
Drop 2-3 different colors of liquid watercolor (or diluted food coloring) onto the glue. Try spacing them out so you can swirl them together without mixing everything into brown.Create Your Pattern
Use a toothpick to gently drag through the colors — swirl, zigzag, loop! There’s no wrong way here. Let your imagination take the lead.Let It Dry (Really Dry!)
Set it somewhere safe and flat. Cover with an upside-down bowl to keep dust out. Wait 48-72 hours. Seriously, don’t poke it — you’ll regret it!Peel & Hang
Once totally dry and firm, peel your suncatcher from the lid. Punch a hole at the top, thread with ribbon, and hang it in a sunny window.
What to Pair It With
Making a few of these? Why not set up a craft day with:
Homemade lemonade and cookies
A rainbow-themed playlist
A quick nature walk to collect wildflowers for more window art
Perfect for a playdate, classroom project, or just a cozy afternoon.
Tips for Stunning Suncatchers
✅ Don’t overmix the colors — a few gentle swirls go a long way.
✅ Don’t rush the drying — under-dried glue will tear.
✅ Want bold color? Use less water in your food coloring.
✅ Make multiples! These are addictive.
Storage Tips
Not hanging right away? Store finished suncatchers flat between sheets of parchment paper.
Avoid folding or placing heavy objects on top to prevent warping.
Keep dry — moisture can re-activate the glue.
FAQs
Can I use clear glue instead of white glue?
Yes! It will give a more translucent, stained-glass look. Just note that colors might spread differently.
How long do these last?
With proper care, they can last months or more. Keep them away from moisture or extreme heat.
What if my suncatcher cracked?
Sometimes, if they dry too fast or too thin, cracks appear. You can patch small ones with clear tape or even layer another thin glue suncatcher on top for a cool 3D effect.
Can I use acrylic paint?
It’s not recommended — it won’t blend as beautifully and can crack when dry. Stick with liquid watercolor or food coloring for best results.
Final Thoughts: Let the Light In 🌈
Glue suncatchers are one of those magical crafts that feel like a mix of science, art, and a little bit of sunshine. Whether you’re five or fifty, there’s something calming and joyful about watching your creation light up a window. So grab those lids, swirl up a storm, and bring a little rainbow into your world.
Want More Fun Crafts?
Check out these colorful DIY ideas:
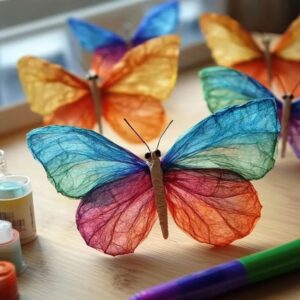
Watercolor Coffee Filter Butterflies
Melted Crayon Window Art
Painted Rock Mandalas
💬 We’d Love to See Yours!
Tried this project? Leave a comment below or tag us on Pinterest with your beautiful suncatchers! Let’s brighten up each other’s feeds one rainbow at a time.
Nutritional Information (Just Kidding… But Seriously 😄)
This craft won’t feed your belly — but it will feed your soul.
Craft calories burned: at least one, from joy-induced dancing. 💃🕺
Stay colorful,
🌈

Glue Suncatcher Magic – Liquid Rainbows for Your Windows!
Equipment
- plastic lid acts as the suncatcher mold
- popsicle stick or spoon for spreading glue
- Toothpick used to swirl colors
- hole punch to make hanging hole after drying
- ribbon, twine, or yarn for hanging in window
Materials
- 1 clean plastic lid (e.g., from yogurt or sour cream tub)
- 1/4 inch layer of white school glue
- 2–3 drops per color liquid watercolors or diluted food coloring
- 1 toothpick (for swirling)
- 1 popsicle stick or spoon (for spreading glue)
- 1 hole punch
- 1 ribbon, twine, or yarn (for hanging)
Instructions
- Wash and dry your plastic lid thoroughly to ensure glue sticks evenly. Optionally, draw designs or borders with a permanent marker.
- Pour a ¼” thick layer of white glue inside the lid. Use a popsicle stick or spoon to spread it evenly. Smooth glue makes smoother art!
- Add 2–3 drops of different liquid watercolors or food coloring onto the glue, spaced out to allow swirling without overmixing.
- Use a toothpick to gently drag through the colors in swirls, zigzags, or loops. Get creative — there’s no wrong way!
- Let the lid sit flat and covered (to avoid dust) for 48–72 hours. Do not touch during drying!
- Once completely dry and firm, carefully peel the suncatcher from the lid. Punch a hole at the top and thread ribbon for hanging.