Introduction
Imagine walking into a room that immediately makes you feel at ease—a space where you can breathe deeply, relax, and enjoy the ambiance. Now, picture achieving that serene atmosphere without relying on chemical-laden air fresheners or synthetic diffusers. Enter: DIY Aroma Stones—a simple, stylish, and sustainable way to infuse your home with your favorite scents. These delightful creations not only act as charming decor pieces but also serve a functional purpose by naturally dispersing essential oils throughout the space. Whether you’re an essential oil enthusiast, a DIY crafter, or simply someone wanting to bring a fresh vibe to your home, this guide will take you step-by-step through the process of making your own customizable aroma stones.
Why You’ll Love This DIY Project
Aroma stones combine simplicity, creativity, and practicality in the best possible way. They offer a toxin-free, eco-friendly alternative to commercial air fresheners, allowing you to control the look, scent, and intensity. Here’s why you’ll fall in love with making your own:
100% Natural & Safe: No chemicals, just pantry staples and your favorite essential oils.
Reusable & Long-Lasting: When the scent fades, simply add a few more drops—no waste, no hassle.
Customizable: Choose the shapes, colors, and scents to match your decor or mood.
Gift-Worthy: Packaged in a cute jar or sachet, they make an excellent handmade gift.
Kid-Friendly Craft: Perfect for crafting with kids (just supervise the use of oils).
Whether you want a soothing lavender aroma in the bedroom, an invigorating citrus burst in the kitchen, or a minty freshness in the bathroom, aroma stones are perfect for every corner of your home.
Ingredients
(Makes approx. 15–20 small stones, depending on mould size)
1/2 cup baking soda
1/2 cup cornstarch
1/4 cup warm water
15–30 drops of your favorite essential oil (lavender, lemon, peppermint, eucalyptus, etc.)
Optional: Natural coloring (mica powder or a drop of food coloring)
Silicone molds, cookie cutters, or ice cube trays
Mixing bowl & spoon
Parchment paper or drying tray
Necessary Tools
You won’t need anything fancy to create these aroma stones—just a few everyday tools:
A mixing bowl and spoon for combining ingredients
Silicone molds or cookie cutters to shape the stones
A drying tray or parchment paper-lined surface for drying
Measuring cups for accuracy
Airtight containers or sachets for storing finished stones
Ingredient Swaps and Additions
Want to personalize your aroma stones even further? Here are some fun and creative ideas to switch up the ingredients:
Arrowroot Powder: Swap cornstarch for arrowroot powder for a similar smooth texture.
Citric Acid: Add a touch of citric acid for a subtle fizzy effect when exposed to moisture (perfect for bathrooms!).
Dried Herbs or Petals: Add visual appeal with lavender buds, rose petals, or even chamomile flowers.
Natural Clays: Experiment with kaolin or bentonite clay for added minerals and a more rustic look.
Essential Oil Blends: Blend oils like lavender and cedarwood for a calming scent, or peppermint and lemon for an energizing aroma.
Tip: Adjust the water content slightly if adding ingredients like herbs, petals, or clay to maintain a good dough consistency.
Step-by-Step Instructions
Step 1: Mix the Base
In a mixing bowl, combine 1/2 cup of baking soda and 1/2 cup of cornstarch. Slowly add 1/4 cup of warm water while stirring constantly. You’ll notice the mixture beginning to form a clay-like consistency—soft and pliable, but not too sticky. If it’s too wet, simply add a bit more cornstarch to achieve the right texture.
Optional: Add a pinch of mica powder or a drop of food coloring to give your stones a pop of color. Knead until the color is evenly distributed throughout the dough.
Step 2: Shape the Stones
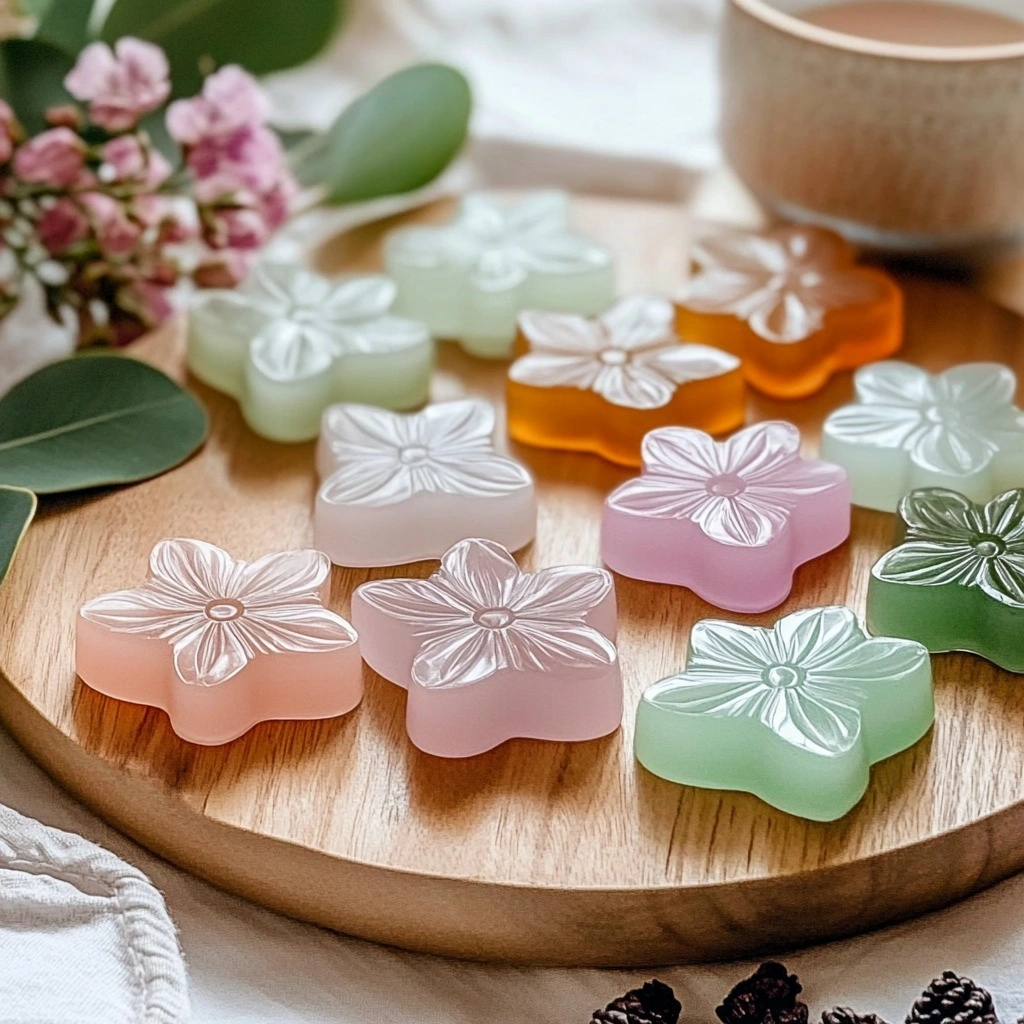
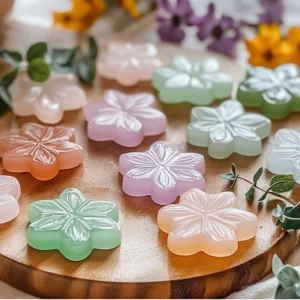
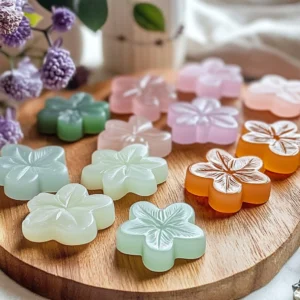
Once your dough is ready, it’s time to shape it. Press it firmly into silicone molds, or use cookie cutters to create your preferred shapes (hearts, stars, flowers, or simple circles). Smooth the edges with your fingers for a polished look.
Pro Tip: If you don’t have molds, simply roll the dough into small balls and flatten them with your fingers for a more rustic appearance.
Step 3: Dry the Stones
Carefully transfer the shaped stones to a parchment-lined tray or drying surface. Let them air dry for 24–48 hours, flipping them halfway through to ensure they dry evenly. You’ll know they’re ready when they feel solid and dry to the touch.
Pro Tip: If you live in a humid environment, place the stones near a fan or in a low-humidity area to speed up the drying process.
Step 4: Add Scent
Once the stones are completely dry, it’s time to add the scent! Add 3–5 drops of your favorite essential oil to the surface of each stone. Allow the stones to absorb the scent for 1–2 hours before using them.
Pro Tip: Start with just a few drops—if the scent isn’t strong enough, you can always add more.
Pro Tips for Success
Humidity Matters: In a more humid environment, drying time can be extended. Ensure proper air circulation to avoid any mold or sticking issues.
Storage Tip: Keep unused stones in an airtight jar to preserve their freshness until you’re ready to use them.
Don’t Over-saturate: Too much essential oil can cause the stone to break down over time. Apply a few drops, let them absorb, and refresh as necessary.
Label Your Scents: If you’re creating several different aromas, labeling the stones can help you remember which scent is which!
Use Quality Oils: High-quality essential oils make a significant difference in scent strength and duration.
Serving Suggestions (Where to Use Them)
Aroma stones are not just cute decor pieces; they’re also incredibly versatile. Here are a few creative ideas to use them around your home:
In Drawers: Keep clothes and linens smelling fresh with a subtle lavender or rosemary scent.
In Cars: A simple, natural car freshener that won’t overwhelm you during your drive.
Bathroom Decor: Eucalyptus or peppermint aroma stones create a spa-like atmosphere for your bathroom.
Near Workspaces: Boost focus and productivity by placing energizing scents like lemon or rosemary near your desk.
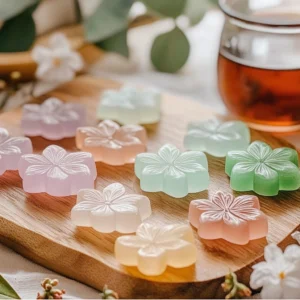
As Gift Sets: Pair a few aroma stones with handmade soaps or bath salts for an extra-special, eco-friendly gift.
Storing and Re-scenting
Store your finished aroma stones in a cool, dry container away from direct sunlight to maintain their quality. Over time, the scent will naturally fade—usually after 1–2 weeks depending on the environment.
To refresh the scent, simply add a few drops of essential oil and let them sit for an hour before using them again. Keep in mind that storing the stones in plastic bags isn’t ideal, as essential oils can degrade plastic and alter the fragrance.
Nutritional Information
(Just for fun—these aren’t edible, but they do have “aromatherapy” benefits!)
Calories: 0
Sugar: 0g
Fat: 0g
Aromatherapy Benefits: 100%
FAQs
How long do aroma stones last?
If stored properly, the stones themselves can last indefinitely. The scent will typically last 1–2 weeks before you need to refresh it with a few more drops of essential oil.Can I use fragrance oils instead of essential oils?
Yes, fragrance oils can work, but they’re usually synthetic and not as natural as essential oils. Be sure to check that the oils you use are safe for inhalation.Do they work in large spaces?
Aroma stones are perfect for small to medium-sized rooms. For larger areas, consider using multiple stones or larger batches for greater diffusion.Can kids make these?
Absolutely! Just supervise the use of essential oils, ensuring that children don’t ingest or come into contact with the oils directly.What if my dough is too wet or too dry?
If the dough is too wet, add more cornstarch to firm it up. If it’s too dry, simply add a splash of warm water and knead until the dough is pliable.
Conclusion
DIY aroma stones are a perfect blend of creativity, sustainability, and functionality. With just a few simple ingredients, you can create natural, custom-scented stones that not only enhance your home but also allow you to personalize the scent experience. Whether you’re crafting for yourself, making gifts, or just looking for a fun weekend project, these aroma stones will add a lovely touch to any space. Try them today and start creating your own fragrant escape at home!
DIY Aroma Stones
Ingredients
Equipment
Method
- In a mixing bowl, combine baking soda and cornstarch. Slowly stir in warm water until a soft, pliable dough forms. Add natural colorants if desired.
- Press the dough firmly into silicone molds or shape by hand. Use cookie cutters for fun designs like hearts or stars.
- Transfer stones to parchment or a tray and let dry for 24–48 hours. Flip halfway through to ensure even drying.
- Once dry, drop 3–5 drops of essential oil onto each stone. Let absorb before using or gifting.