Before we dive into the sparkly fun—let me just say thank you for being here. Seriously. There’s something incredibly special about taking a few simple ingredients and creating a magical little moment of “Wow!”—especially when it’s something you can share with your kids, students, or curious friends.
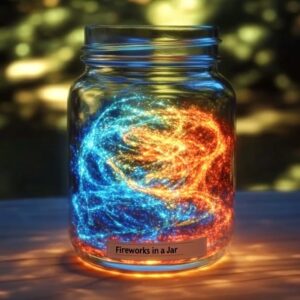
Fireworks in a Cup is one of those activities that delivers big excitement with little effort. It’s a stunning, safe, and super easy science experiment that mimics the brilliant bursts of fireworks—right in a glass!
💌 Don’t miss out on more creative experiments and DIYs—subscribe to get them sent right to your inbox!
What Is “Fireworks in a Cup”?
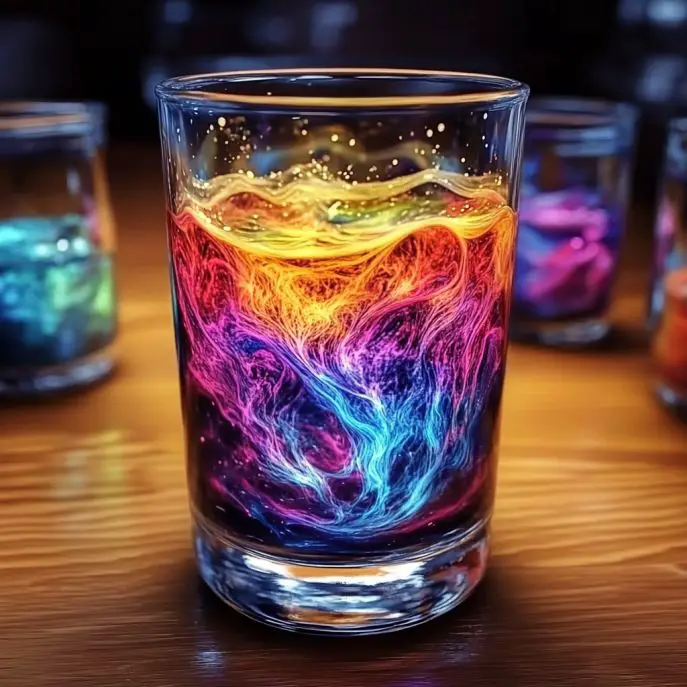
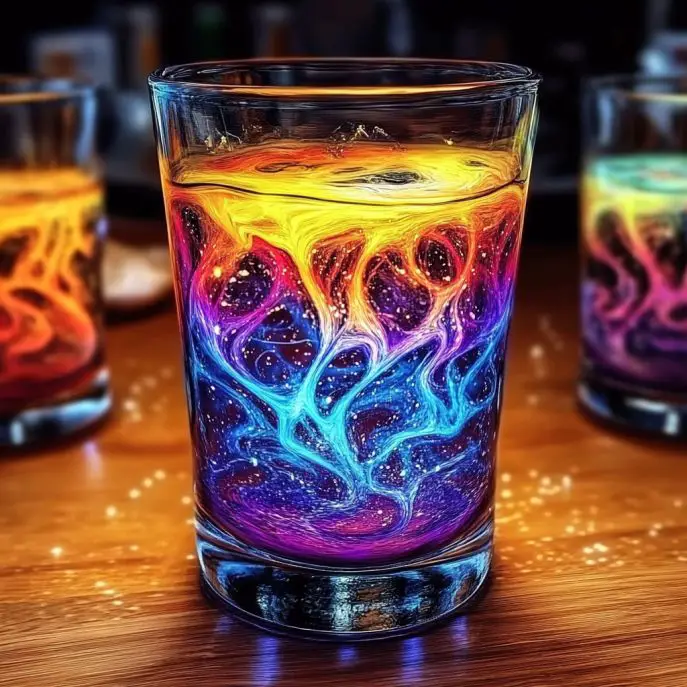
It’s a visual science experiment that uses the basic principles of density and solubility to create a firework-like explosion of color in a cup. Food coloring, suspended in oil, breaks through into warm water in mesmerizing drops and swirls—just like mini fireworks blooming in the sky.
And the best part? It’s completely safe, mess-free, and requires zero special equipment.
Why You’ll Absolutely Love This Activity
- Simple to set up—uses household items!
- Quick but impactful—great for short attention spans.
- No cleanup drama—no stains, flames, or sticky messes.
- STEM-rich learning—teaches density and solubility in real time.
- Perfect for any age—little ones can marvel, older kids can hypothesize!
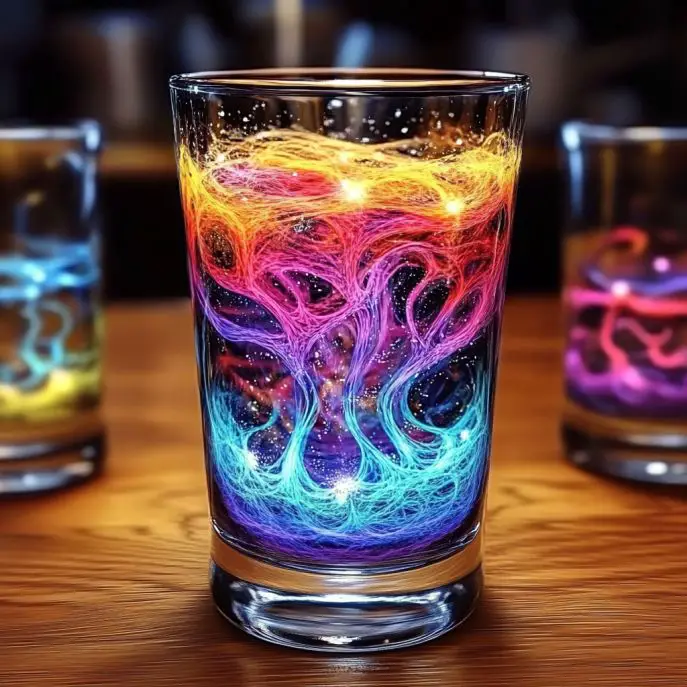
What Does It Look Like?
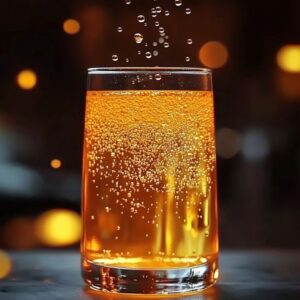
Just picture it—shimmering drops of color slowly falling through golden oil, then suddenly bursting into vivid tendrils of red, blue, green, or yellow as they hit the water. It’s slow motion magic with every swirl.
Honestly, I’m still kicking myself for not having filmed my first try!
The Science Behind the Magic
This experiment is a simple lesson in density and polarity. Water and oil don’t mix because they have different molecular structures (oil is less dense and nonpolar). The food coloring, being water-based, sinks through the oil until it reaches the water—then disperses in colorful bursts!
Ingredients You’ll Need
- 1 clear glass or plastic cup
- Warm water (fill the cup about ¾ full)
- 2–3 tablespoons vegetable oil
- Food coloring (4–5 drops per color)
- 1 small bowl
- Fork or whisk
Tools Checklist
- Measuring spoon
- Small mixing bowl
- Fork or mini whisk
- Towel or tray for your workspace (optional)
Customizations & Variations
- Try different oils: Coconut or olive oil can change the look and reaction speed!
- Go neon: Use neon food coloring for bold, high-contrast bursts.
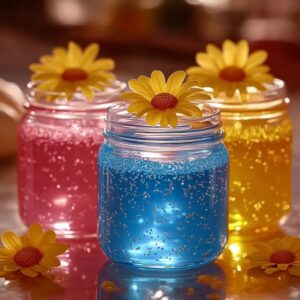
- Switch up containers: Try tall jars or round bowls for unique visual effects.
- Make it a party: Use this as a visual centerpiece for summer cookouts or Fourth of July celebrations.
How to Make Fireworks in a Cup
Step-by-Step Instructions
- Pour the water
Fill your clear cup about ¾ of the way with warm water. This is your “sky.” - Prepare the fireworks mix
In a small bowl, pour 2–3 tablespoons of vegetable oil. - Add the color
Drop in 4–5 drops each of your chosen food colors. Try not to mix them yet! - Gently whisk
Use a fork or whisk to stir the oil and food coloring just enough to break up the droplets. Be gentle—you want tiny pockets of color, not a full blend. - Pour and watch
Slowly pour the oil mixture into the warm water. Then, step back and watch the magic as the color bursts start to dance and swirl!
Where to Use This Experiment
- Rainy day boredom buster
- Classroom or homeschool STEM lesson
- Birthday party wow moment
- Quiet time creativity boost
Tips for a Fantastic Display
- Use warm water—it helps the colors disperse faster and more vividly.
- Pour the oil mix slowly for better control and more dramatic results.
- Don’t stir once it’s in the water—let gravity and chemistry do their thing.
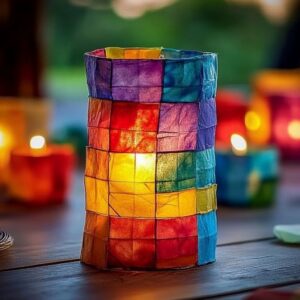
- Dim the lights for a more dramatic, glow-like effect.
Frequently Asked Questions (FAQ)
Can I use cold water instead?
Warm water works best—it gives the food coloring more energy to disperse quickly and vividly.
Will it stain my cups?
Nope! Food coloring in this small amount is easily washed out with soap and water.
Is this safe for toddlers?
Yes! Just make sure they don’t drink the mixture. Always supervise young children.
How long do the fireworks last?
The initial bursts last a few minutes, but you can repeat the process as many times as you like!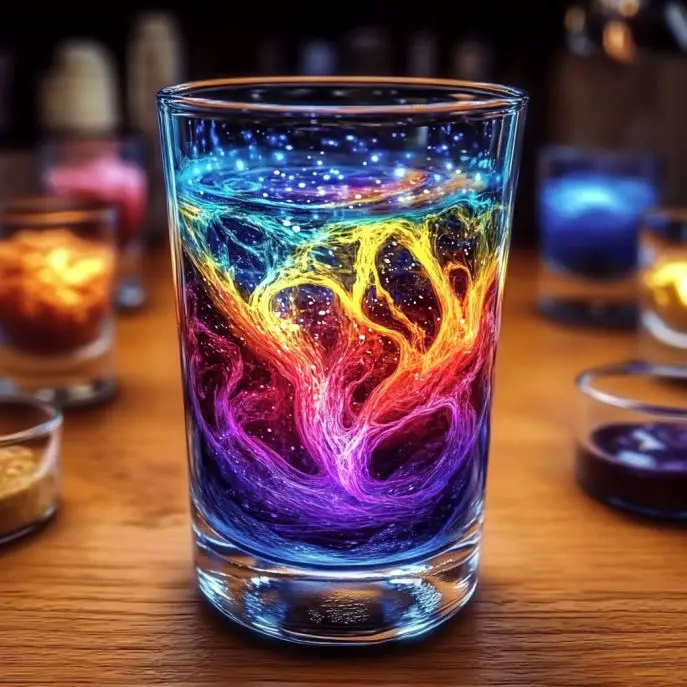
Wrapping It Up
This Fireworks in a Cup experiment is one of those rare gems—beautiful, educational, and unforgettable. It’s the kind of thing that sparks curiosity (and conversation!) with anyone who sees it.
And honestly? It’s just plain fun.
Whether you’re making memories with your kids or just indulging your inner science nerd, I hope this little DIY brings some color and wonder into your world today.
Love this experiment? Try these next!
- Rainbow Walking Water Science Activity
- Shaving Cream Rain Clouds in a Jar
- Color-Changing Lemonade (Yes, it works!)
Show Off Your Science!
Tried this project? I’d love to see your colorful results!
📷 Tag me on Pinterest or Instagram
📝 Drop a comment below and share your favorite color combo!
📬 And don’t forget to subscribe for more magical experiments and activities.
Just for Fun “Experiment Stats”
- Setup Time: 5 min
- Mess Level: Low 🙌
- Wow Factor: 🎆🎆🎆🎆🎆
- Kid Approval Rating: 100%
Let me know if you’d like this turned into a printable guide or bundled with a collection of quick STEM crafts!