First off, thank you for being here. Whether you stumbled upon this out of curiosity or you’re a seasoned DIY explorer, I’m truly grateful you’re spending a few minutes with me. This post is one I’m excited about—it’s equal parts art, science, and pure magic.
Today, we’re diving into the enchanting world of Salt Crystal Painting—a mesmerizing activity that transforms watercolor art into shimmering, crystalline masterpieces. It’s a stunning visual treat and an incredibly fun project for all ages, from toddlers exploring textures to adults seeking a creative unwind.
If you’re the kind of person who gets excited about texture, sparkle, and the unexpected beauty of science-meets-art… then this one’s for you. ✨
Want more creative activities like this?
📩 Subscribe to get this tutorial sent straight to your inbox!
What Is Salt Crystal Painting?
Salt Crystal Painting is a simple yet fascinating process where salt and watercolor interact on paper to create beautiful, textured patterns. The magic lies in how the salt absorbs moisture and pigment, forming icy-looking veins and natural-looking crystal clusters.
It’s artistic. It’s scientific. It’s anything but boring!!
Reasons to Love This Project
🧠 Educational – Teaches about evaporation and crystal formation. Great STEAM activity!
🎨 Creative – No two artworks look the same.
👨👩👧👦 Inclusive – Perfect for all ages, from little hands to grown-up imaginations.
🧘 Relaxing – The soft blending of watercolors paired with the slow reveal of crystals is pure zen.
🖼️ Display-worthy – These beauties are frame-worthy, trust me.
What Does It Look Like When It’s Done?
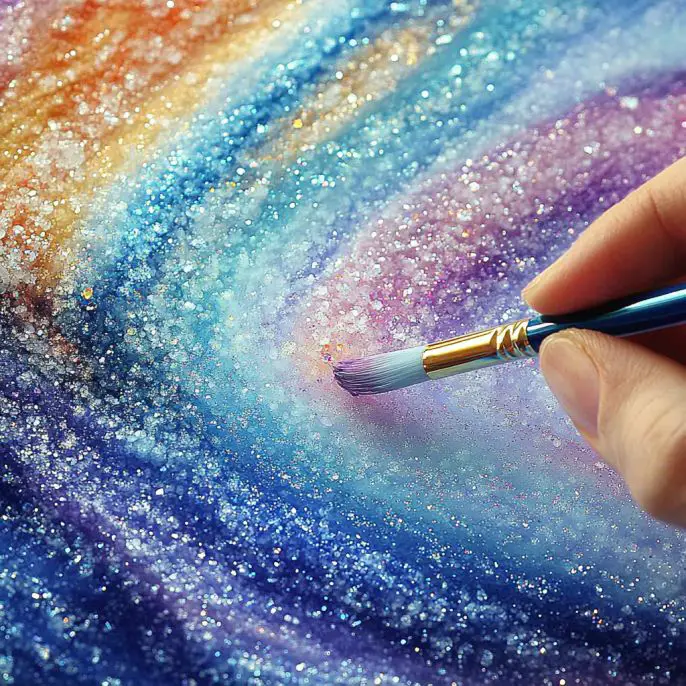
Picture this: watercolor hues blending like silk across heavy paper, and then—like frost creeping over a windowpane—crystalline textures burst into bloom where salt has touched the pigment. It’s whimsical, dreamy, and always a surprise.
Benefits of Salt Crystal Painting
Develops fine motor skills (especially for kids)
Encourages experimentation and risk-free creativity
Combines art with a little bit of science for added learning
Creates giftable, frame-worthy artwork
Uses inexpensive and accessible materials
Ingredients & Materials You’ll Need
🛒 Supplies:
Heavy watercolor paper or thick cardstock
Watercolors or liquid watercolor paints
Paintbrushes
Table salt or Epsom salt
Small bowls
Warm water
Spoon (for mixing)
Tools You Might Like to Use
Pipette or eyedropper for dripping salt solution
Hair dryer (optional) for faster drying
Aprons or smocks if working with kids
Ingredient Substitutions & Additions
Try Epsom salt for chunkier, more dramatic crystals.
Use black cardstock with metallic watercolor for a galaxy effect.
Add a few drops of essential oils (like lavender or lemon) to the salt solution for a sensory bonus.
Instead of watercolors, you can test food coloring mixed with water for bright, vivid tones.
Step-by-Step: How to Make Salt Crystal Paintings
1. Set the Stage
Start by gathering your materials in a well-lit, clutter-free space. (This makes cleanup easier and sparks focus.)
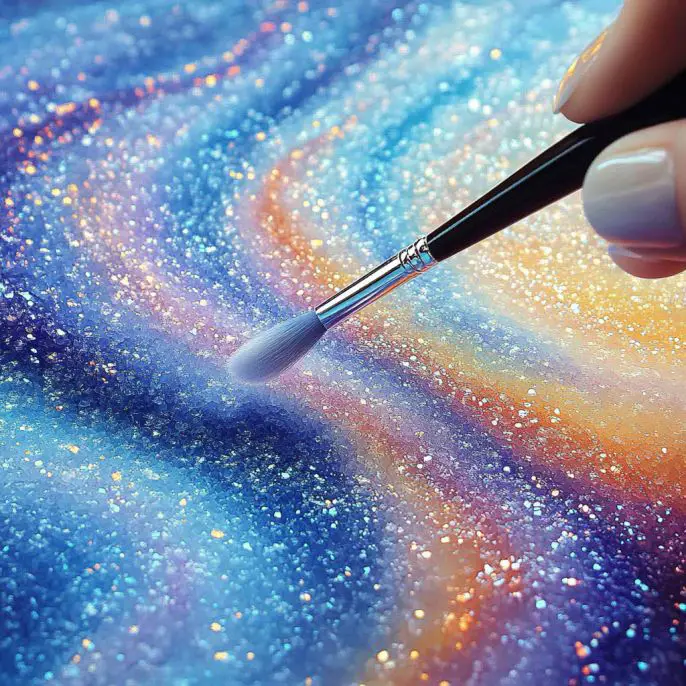
2. Paint Your Canvas
Use your watercolors to create abstract patterns, shapes, or freeform designs. Keep areas wet with paint—that’s where the salt will work its magic.
3. Sprinkle the Salt
While the paint is still wet, lightly sprinkle table salt over the painting. Watch as it starts pulling color into crystalline patterns!
4. Mix Your Crystal Solution
In a bowl, heat 1 cup of water (warm, not boiling). Stir in salt until it stops dissolving—you want a saturated solution. Let it cool slightly.
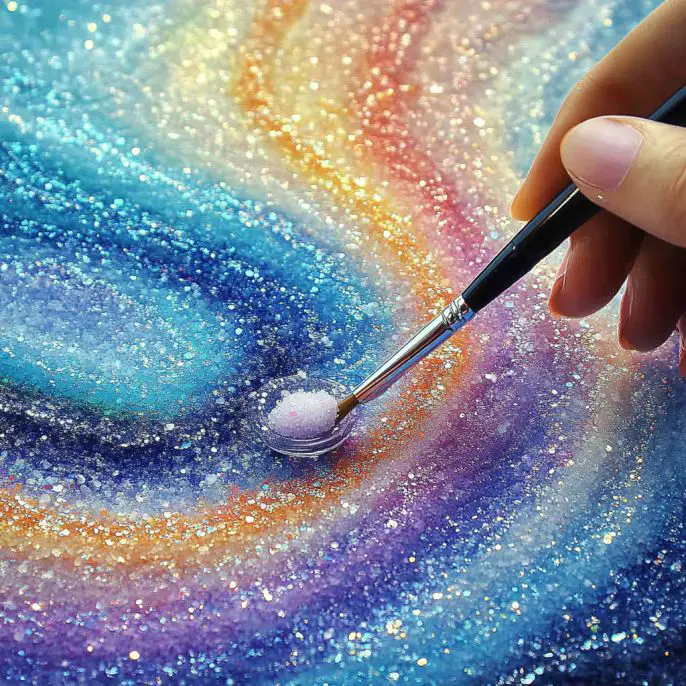
5. Enhance the Magic
Use a spoon, paintbrush, or pipette to drip the salt solution onto your artwork. Watch for blooming effects and subtle shimmer as the solution dries.
6. Dry & Reveal
Leave your artwork flat in a warm, undisturbed area to dry for several hours or overnight. When you come back… WOW.
What to Pair It With (Craft Night Ideas!)
Pair this with homemade playdough or dried flower bookmarks for a full DIY afternoon.
For parties, set up a mini crystal-painting station with aprons, music, and snacks.
Add a color wheel activity to explore mixing and saturation.
Tips for Perfect Results
Don’t overdo the salt—a light sprinkle is more effective than a full pour.
Use heavier paper to avoid warping.
If using a hair dryer, blow from the side, not directly down, to keep salt in place.
Want richer crystals? Let the salt solution cool completely before applying—it crystallizes better.
How to Store the Artwork
Once completely dry, brush off excess salt gently.
Store flat or frame under glass to preserve the textures.
You can also scan the finished piece for digital use (greeting cards, anyone?).

General Info
Project Time: 30 minutes active + drying time
Skill Level: Beginner
Mess Level: Medium (but manageable!)
Best Age Range: 4 to adult
Cleanup Tip: Use a damp sponge for table surfaces and vacuum salt if needed
Frequently Asked Questions (FAQ)
Can I use regular printer paper?
Not recommended—it buckles and tears easily when wet. Stick with watercolor paper or thick cardstock.
Is Epsom salt better than table salt?
Each gives a different look! Table salt creates fine, snowy textures; Epsom salt forms larger, more dramatic crystals.
Can I use food coloring instead of watercolor?
Yes! Just mix it with water to create your own liquid paint.
What if my salt doesn’t crystallize?
Make sure your salt solution is saturated and your paint is wet enough when applying.
Wrapping It All Up
Salt Crystal Painting is one of those activities that feels almost like a little miracle unfolding. It’s simple, affordable, and filled with wonder. Whether you’re crafting with your kids, teaching a class, or just enjoying a quiet creative break—this is a project that brings sparkle to your day and smiles to your heart.
More Artsy Ideas You Might Love
📸 Show Off Your Art!
Did you try this project? I’d love to see your beautiful results!
Share your crystal creations on Pinterest and tag me so I can admire your masterpieces!
💌 Don’t forget to subscribe for more hands-on, joy-filled tutorials!
🥄 Nutritional Information
(None! Unless you count feeding your imagination 😉)
Thanks for painting a little magic with me today. Now go sparkle and swirl—your inner artist is waiting!
Salt Crystal Painting
Ingredients
Equipment
Method
- Gather your materials in a well-lit, clutter-free space. This helps with cleanup and creates a focused environment.
- Use watercolors to paint abstract or freeform designs. Keep areas wet so the salt can interact with the paint.
- While paint is still wet, lightly sprinkle salt over your painting. Watch the salt pull and crystallize the color.
- Mix 1 cup warm water with salt until it stops dissolving. This creates a saturated salt solution. Let it cool slightly.
- Use a pipette, spoon, or brush to drip the salt solution onto your painting. Watch for blooming, shimmering effects.
- Let your painting dry flat in a warm, undisturbed area for several hours or overnight. Then gently brush off excess salt.