Introduction
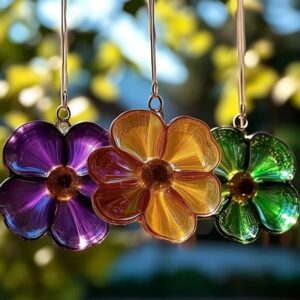
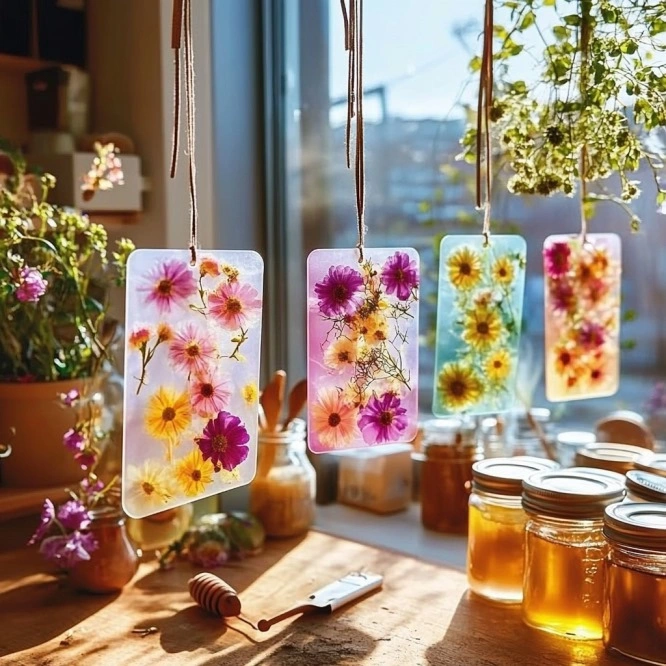
If you’re searching for an eco-conscious, vibrant, and mesmerizing DIY project that combines creativity with sustainability, then you’ll absolutely adore making Bioplastic Suncatchers. These dazzling window decorations not only catch the sunlight in the most magical way but also introduce children and adults alike to the fascinating world of bioplastics. Because this hands-on activity uses kitchen-friendly, biodegradable ingredients like cornstarch and gelatin, it offers a safe and educational experience that’s perfect for family crafting sessions, classroom science-art projects, or even mindful solo creativity on a rainy afternoon.
As the sun glows through your handcrafted suncatchers, you’ll witness how repurposed natural ingredients can be transformed into artistic masterpieces that shine as brightly as your commitment to the planet. Therefore, let’s dive into this colorful, environmentally-friendly DIY project that proves going green doesn’t mean giving up the fun.
Why You’ll Love This Recipe
Crafting Bioplastic Suncatchers brings together science, sustainability, and self-expression in a way that is not only educational but also incredibly satisfying. Because these suncatchers are made from natural, non-toxic ingredients, they are ideal for young crafters, eco-conscious families, and science teachers looking to spark curiosity about biodegradable materials.
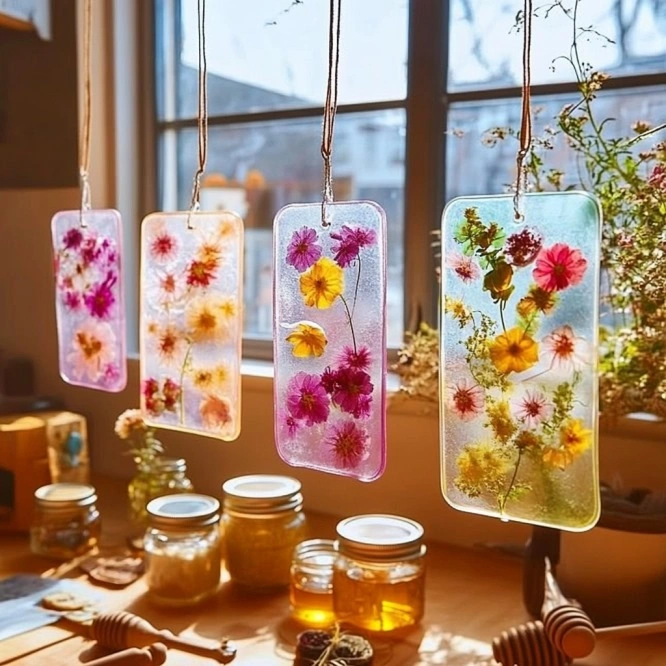
Furthermore, the flexibility of this recipe allows for endless customization—from swirling bold colors to pressing in delicate flower petals or biodegradable glitter. Consequently, every piece you create becomes a one-of-a-kind keepsake that reflects your personal style and values. Whether you’re teaching kids about eco-friendly alternatives to plastic or simply decorating your home with handcrafted art, you’ll find yourself returning to this project again and again.
Ingredients
To create your own vibrant Bioplastic Suncatchers, gather the following ingredients:
- 1/2 cup water – Acts as the base solvent to dissolve all materials evenly.
- 2 tablespoons cornstarch – Provides structure and flexibility to the final gel mixture.
- 1 tablespoon white vinegar – Helps bind the ingredients and supports the plasticizing process.
- 1 tablespoon unflavored gelatin powder – Serves as a natural gelling agent and gives the suncatcher its final texture.
- Natural or food-safe coloring – Use food coloring, beet juice, turmeric, or spirulina for safe, eye-catching colors.
- Optional decorative add-ins: Fine glitter, dried flower petals, or tissue paper pieces to elevate the design.
Necessary Tools
While the ingredients are kitchen staples, the tools you’ll need are also commonly found in most homes:
- Saucepan – For gently heating and thickening the mixture.
- Mixing spoons – Wooden or silicone spoons work best for thorough stirring.
- Small bowls – To divide and color portions of the bioplastic mixture.
- Non-stick surface – Use parchment paper, a silicone mat, or a plastic sheet as a drying surface.
- Toothpicks or skewers – For swirling colors and adding intricate designs.
- Hole punch – Essential for making hanging holes after the suncatchers dry.
- String or suction cup hook – For hanging your finished creations in a sunny window.
Ingredient Swaps and Additions
Because crafting is about creativity, this recipe is flexible enough to accommodate a wide range of ingredient substitutions and enhancements. For instance, if you’re out of white vinegar, you can use apple cider vinegar or lemon juice as an acidic alternative—though it may slightly affect the final color. Similarly, if gelatin is not available or if you’re looking for a vegetarian option, consider using agar-agar powder (keeping in mind that drying times and textures will vary).
To make the suncatchers more interactive or thematic, try pressing in alphabet pasta for initials, shaped paper cutouts for seasonal flair, or even small pieces of biodegradable confetti. These additions not only increase visual interest but also make your DIY suncatchers stand out as truly unique pieces of art.
Step-by-Step Instructions
Creating Bioplastic Suncatchers is a straightforward process, but following these detailed steps ensures consistently beautiful results:
- Mix the Base Ingredients: Begin by combining ½ cup of water, 2 tablespoons of cornstarch, 1 tablespoon of white vinegar, and 1 tablespoon of unflavored gelatin in a saucepan. Stir thoroughly to eliminate any lumps, ensuring a smooth mixture.
- Heat Gently Until Thickened: Set the saucepan over medium-low heat and stir constantly. Within 3–5 minutes, the mixture will begin to thicken into a viscous, gooey gel. Once it reaches a smooth, pourable consistency (similar to pudding), remove it from heat.
- Add Color and Customize: Divide the gel into separate bowls if you’re using multiple colors. Mix in natural food-safe colorants, such as spirulina for green, turmeric for yellow, beet juice for red, or store-bought food coloring. Then, use a spoon to gently spread thin layers of the colored mixture onto your non-stick surface in any shape you prefer.
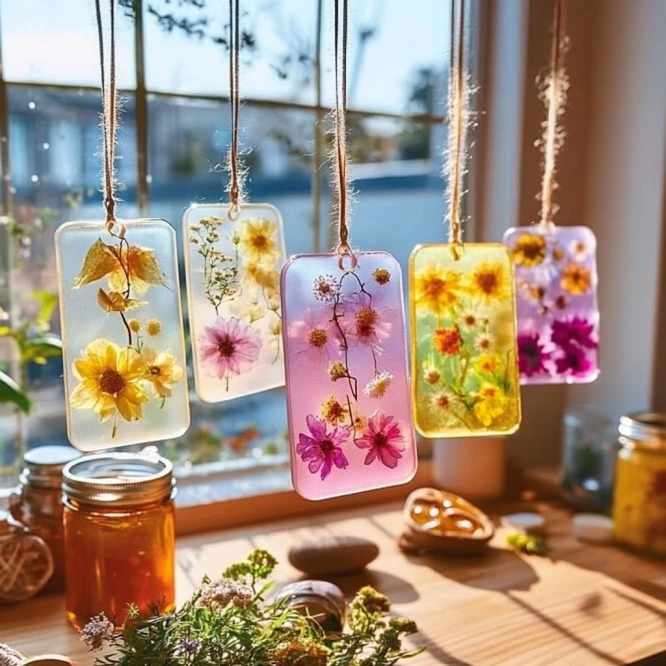
- Decorate Thoughtfully: Before the mixture sets, use toothpicks to swirl colors together, press in decorative items like petals or glitter, or layer colors for depth. Make sure each design is flat and evenly spread to promote even drying.
- Allow to Dry Naturally: Leave the suncatchers to air dry in a well-ventilated area for 24–48 hours. Flip them halfway through the drying time to prevent curling and ensure uniform dryness. They should be firm yet flexible when ready.
- Punch and Hang: Once dry, use a hole punch to create a hanging hole at the top of each suncatcher. Thread a string through the hole or use a suction hook to display your eco-art in a sunny window.
Pro Tips for Success
Although this project is beginner-friendly, keeping these expert tips in mind will guarantee the most impressive results:
- Use filtered or distilled water to avoid cloudiness caused by mineral deposits.
- Keep the heat low to prevent burning the mixture or forming clumps.
- Apply in thin layers for faster drying and better transparency.
- Flip halfway through drying to avoid warping and curling edges.
- Store unused gel in the fridge for up to 24 hours, although fresh is best for optimal spreadability.
Serving Suggestions
While this craft isn’t edible, it’s certainly meant to be showcased with pride! Hang your bioplastic suncatchers in any sun-drenched area—such as windows, patios, or car dashboards—where light can shine through them. You can also tie multiple suncatchers together to create a colorful mobile or garland, or even frame individual ones as wall art. During holidays or seasonal changes, use cookie cutters to create themed designs like snowflakes for winter or butterflies for spring.
Storing and Reheating
Because these suncatchers are biodegradable, they’re not designed for long-term storage like commercial plastic. Store them in a dry area away from moisture, and avoid direct water contact to prolong their lifespan. Unfortunately, they can’t be reheated or reshaped once dry, so create new ones as needed.
Nutritional Information
Though not intended for consumption, here’s a breakdown of the materials used for those curious about the ingredients’ profiles:
- Water: Zero calories, acts as a solvent.
- Cornstarch (2 tbsp): ~60 calories, carbohydrate-based.
- Gelatin (1 tbsp): ~35 calories, contains protein.
- White vinegar (1 tbsp): ~3 calories, contains acetic acid.
- Colorants and Add-ins: Variable, negligible nutritional impact.
FAQs
1. Can I make these without gelatin?
Yes, you can substitute agar-agar powder, though it will change the texture and drying time.
2. How long do the suncatchers last?
When kept dry, they can last several weeks. However, since they’re biodegradable, expect some gradual changes over time.
3. Can I speed up the drying process?
While air drying is ideal, using a fan can help speed things up. Avoid ovens or hair dryers, as heat can deform the material.
4. Are these safe for young kids?
Absolutely! All ingredients are food-safe and non-toxic. Just supervise children with the heating step.
5. Do they melt in the sun?
No, they don’t melt from sun exposure, but they can soften in very humid conditions, so indoor display is best.
Conclusion
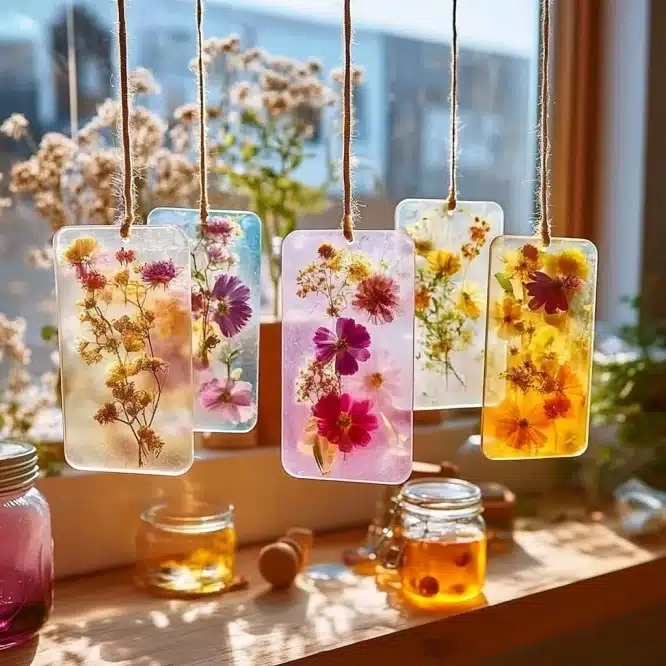
Crafting Bioplastic Suncatchers offers a magical combination of creativity, science, and sustainability. By transforming everyday kitchen ingredients into radiant window art, you’re not just crafting—you’re making a statement about conscious living. Whether you’re teaching kids about biodegradable materials or decorating your home with handmade joy, this project promises lasting memories and glowing results. So next time the sun peeks through your window, let your bioplastic creation catch the light and reflect your love for art and Earth.
DIY Bioplastic Suncatchers
Ingredients
Equipment
Method
- Combine ½ cup water, 2 tbsp cornstarch, 1 tbsp white vinegar, and 1 tbsp gelatin in a saucepan. Stir until smooth.
- Heat gently over medium-low heat while stirring. In 3–5 minutes, the mixture will thicken to a gooey gel. Remove from heat once smooth and pourable.
- Divide mixture into bowls and mix in colorants. Spread colored gel into shapes on a non-stick surface like parchment or silicone mat.
- Before it sets, decorate using toothpicks, glitter, petals, or other safe embellishments. Keep layer thin and even.
- Let air dry for 24–48 hours in a well-ventilated space. Flip halfway to ensure even drying and prevent curling.
- Use a hole punch to add hanging holes. Thread string or use suction cups to display your finished suncatchers in sunlight.

